
Do you want to clean your Litter Robot 4 effectively without damaging its advanced components?
Cat owners often think that using a self-cleaning litter box means no cleaning is necessary. But this can lead to problems with odour, efficiency, and your cat’s well-being.
Maintenance is crucial to the functionality of Litter Robot 4 and to your cat’s well-being. Knowing the proper cleaning methods and procedures is essential for the device’s durability and your cat’s health.
As a cat person, I know you thought that the Litter Robot 4 would solve all your litter box woes. But now you’re unsure of how to clean Litter Robot 4 properly. That’s why I’ve prepared this guide to help you with my experience.
Quick Summary: Regular cleaning of the Litter Robot 4 helps control odors and keeps it working properly. Simple wipe-downs should be done monthly, while a deep clean every few months removes buildup and extends the unit’s lifespan.
Frequency of Cleaning
Cleaning the Litter Robot 4 generally involves two levels: regular cleaning and deep cleaning. Regular cleaning of the globe should be done every 1–3 months and helps prevent odors while keeping the unit running smoothly.
This usually includes wiping the inside of the globe and removing any leftover litter or debris.
Deep cleaning is more thorough and is recommended about every 3 months. This process helps remove buildup that regular cleaning may miss, and it plays a key role in maintaining the unit’s long-term performance and hygiene.
Moreover, how often you need to clean your Litter Robot 4 can vary depending on factors such as the number of cats, their size, how frequently the box is used, and the type of litter you use.
Paying attention to odour, sensor performance, and overall cleanliness will help you adjust your cleaning schedule as needed.
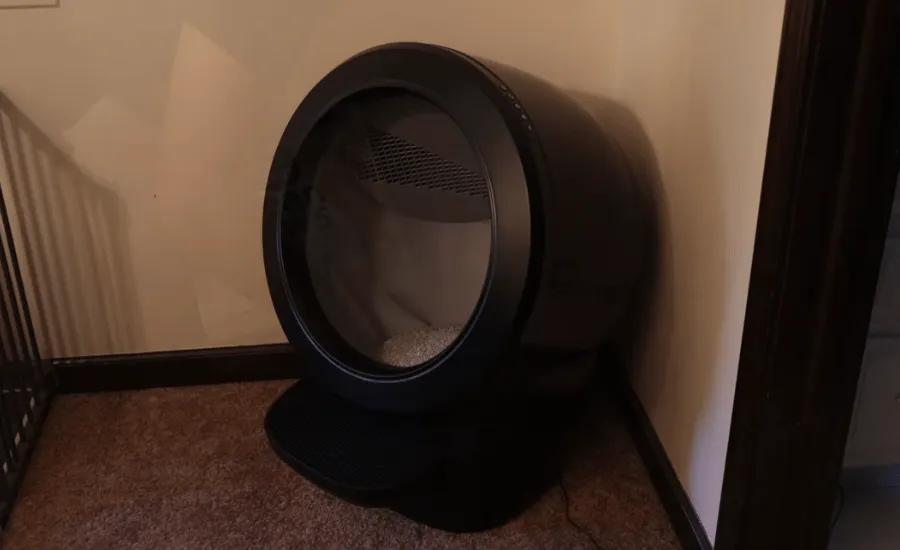
Basic Globe Cleaning
Basic globe cleaning is a simple task you need to perform on your Litter-Robot 4 to ensure the machine functions properly. This process is short and uncomplicated.

Materials needed: Litter-Robot cleaner spray or mild soap, water, a cloth or paper towels, and optionally, a Phillips-head screwdriver and vacuum cleaner.
1. Emptying the Litter
- Press the “Empty” button to rotate the globe clockwise.
- Allow all the litter to fall into the waste drawer.
- Use a scoop or brush to sweep any remaining litter towards the waste port.
- Press “Cycle” or “Reset” to return the globe to its home position.
2. Quick Wipe-Down Method
- Turn off and unplug the Litter-Robot 4.
- Use Litter-Robot Cleaner Wipes or a damp cloth with mild soap to wipe the inside of the globe.
- Pay special attention to the upper half of the globe, where waste tends to stick.
- Wipe down the exterior of the globe and the step mat.
3. Spot Cleaning Technique
- Without removing the litter, manually rotate the globe to expose areas needing cleaning.
- Use a Litter-Robot cleaner wipe or damp cloth to clean visible spots or stains.
- Focus on the flexible globe liner surface where waste often adheres.
- Allow cleaned areas to dry before rotating the globe back to its original position.
Do not forget to wipe the sensors in the bezel area with a dry cloth to avoid any problems. These simple cleaning procedures ensure that the area remains clean and functions properly between deep cleanings.
You might need to deep clean more often, depending on how much the unit is used.
Deep Cleaning Process
Deep cleaning your Litter-Robot 4 is an important aspect of maintaining its functionality and keeping the unit sanitary. This method targets all parts of the unit, clearing out debris, odours, and germs that have built up over time.
Though it takes more time and energy, it is necessary for your device’s durability and your cat’s well-being.
Here’s a detailed step-by-step guide for the deep cleaning process:
1. Emptying and Removing Litter
- Press the “Empty” button to rotate the globe and dump all litter into the waste drawer.
- Manually remove any remaining litter, ensuring the globe is completely empty.
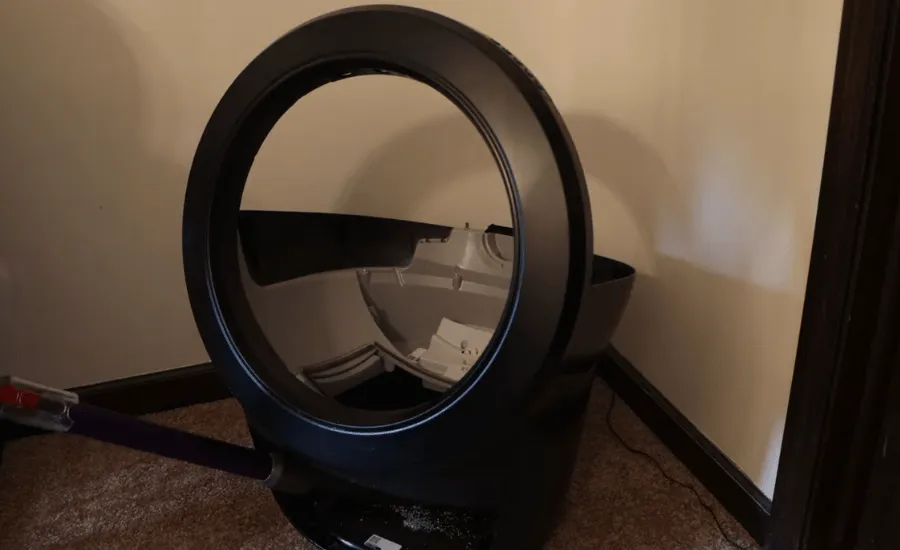
2. Disassembling the Unit
- Turn off and unplug the Litter Robot 4 for safety.
- Open the bonnet:
- Press and hold buttons on both sides of the bonnet.
- Lift and rotate the bonnet to its fully open position.
- Remove the globe:
- Grasp the handle on top of the globe.
- Carefully lift the globe off the base.
- Remove the carbon filter located under the globe.
3. Cleaning the Globe
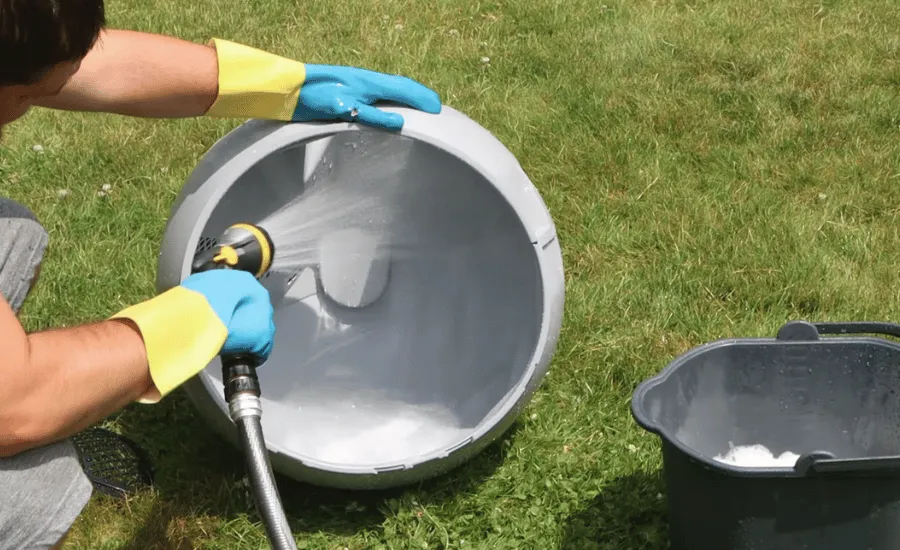
- Use Litter-Robot Cleaner Spray or mild soap and water.
- Scrub the interior thoroughly, paying attention to crevices and the waste port.
- For stubborn dirt, soak the globe and clean it with a water hose if necessary.
- Dry the globe completely before reassembly.
4. Cleaning the Waste Drawer
- Empty the contents and remove the liner.
- Wash with Litter-Robot cleaner spray or soap and water.
- Dry thoroughly and install a new liner.
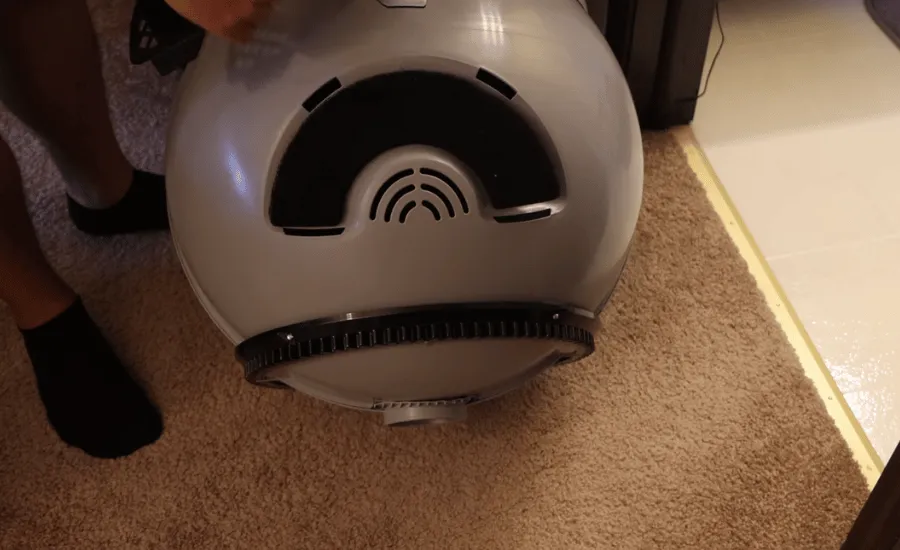
5. Cleaning the Base
- Never submerge or soak the base due to the electronic components.
- Wipe surfaces with a cloth dampened with disinfectant.
- Avoid spraying directly onto the base; apply the cleaner to the cloth first.
6. Cleaning the Bonnet
- Wipe down with a damp cloth and mild cleaner.
- Pay special attention to the inside surface and edges.
7. Optional: Cleaning the Septum
- Remove the seven screws holding the septum in place.
- Clean the septum with mild soap and water.
- Dry it completely before reinstalling.
After washing all the parts, install them in their appropriate positions and secure them to ensure proper alignment. This deep cleaning will ensure your Litter-Robot 4 stays clean, providing your cat with a hygienic place to use the litter box.
Reassembly and Maintenance
To ensure optimal performance of your Litter-Robot 4, follow these steps after cleaning your robotic litter box. This stage is crucial to ensure the unit operates at its best and is ready for the next use.
1. Reinstalling the Globe and Bonnet
- Place the globe back on the base and align it in the Home position.
- Ensure the gear track engages with the motor pinion.
- Lower the bonnet, applying light pressure on the sides.
- Push down on the bonnet top to secure the latches.
2. Replacing the Carbon Filter
- Take a new carbon filter.
- Position it under the globe where the old one was removed.
- Ensure it’s seated properly to maximize odor absorption.
3. Installing a New Waste Drawer Liner
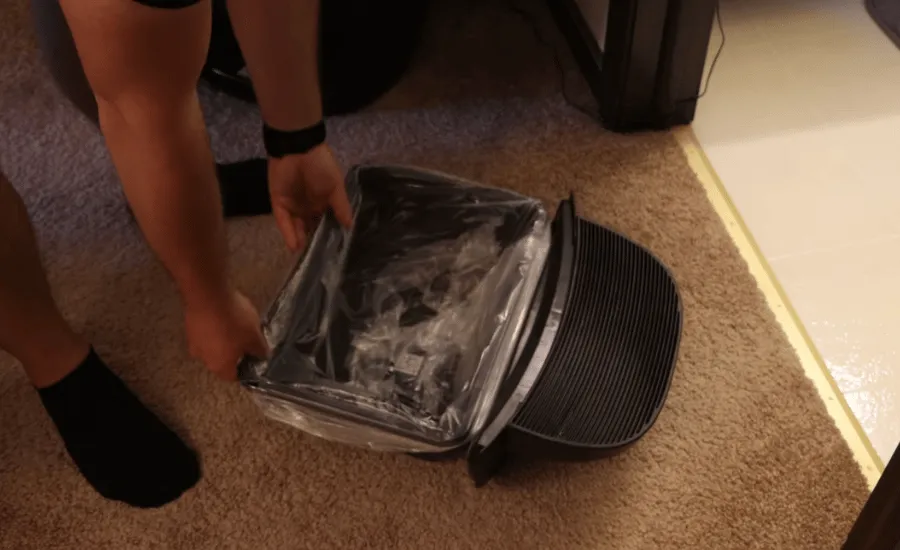
- Open a new liner or 8-13 gallon trash bag.
- Wrap the edges over the waste drawer flange.
- Smooth out any wrinkles to ensure accurate drawer full readings.
- Push the excess bag to the drawer bottom.
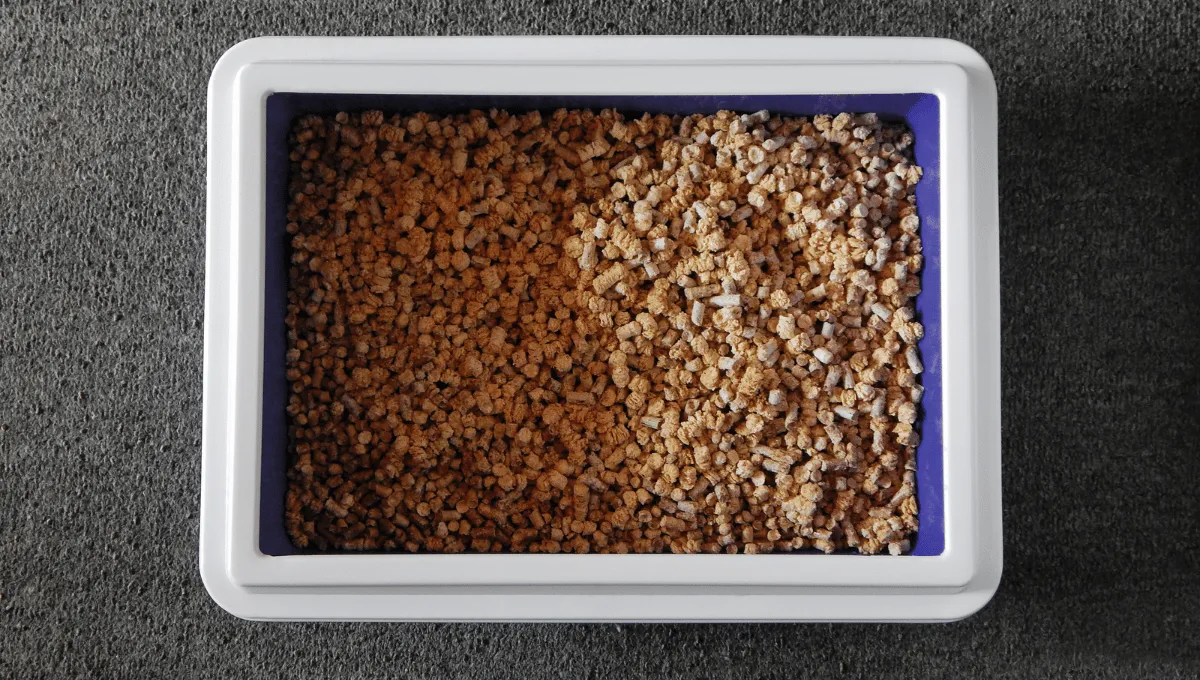
4. Adding Fresh Litter
- Pour fresh, clumping cat litter into the globe.
- Fill in till the level indicator line inside the globe.
- Don’t overfill, as this can interfere with the sifting process.
- Ensure the litter is evenly distributed across the globe.
5. Final Check
- Plug in the unit and power it on.
- Run a test cycle to ensure everything is functioning correctly.
- Listen for any unusual noises and observe the cycle completion.
Check Out: How to Clean a Litter Box: A Veterinarian’s Approved Method
Special Cleaning Considerations
While general cleaning is essential, certain components of your Litter-Robot 4 require special attention:
Litter Robot 4 Sensor Cleaning
The OmniSense detection system uses laser sensors within the device’s bezel. To clean the dust or debris from these sensors, gently wipe them with a dry cotton swab.
This helps maintain accurate litter and waste drawer level readings and ensures proper cat detection for safety purposes.
Brush Seal Strips Maintenance
There is a brush seal strip on the base that helps prevent odours from escaping. Clean them regularly and check for signs of wear and tear or peeling. Trim off the raw edges to prolong the life of the strip.
They should not be washed with water to prevent premature peeling. Replace them when they are too worn out to maintain their functionality.
Weight Sensor Care
The weight sensor in the base is essential for registering your cat’s weight and detecting the animal. Maintain hygiene and avoid water accumulation in this area.
When cleaning the base, be particularly cautious around the sensor area. It should not be exposed to excessive water or cleaning solvents that could affect its function.
Conclusion
To keep your Litter-Robot 4 running smoothly, wipe down the globe every 1–3 months and plan a deep clean about every 3 months.
Regular cleaning keeps odours in check, while deep cleaning involves taking the unit apart and cleaning the parts that affect performance.
When deep cleaning, focus on areas like the sensors, brush seals, and weight sensors, as buildup here can cause issues over time.
How often you clean may vary depending on how many cats use the unit and the type of litter you use.
With routine care, your Litter-Robot 4 will stay cleaner, work more reliably, and last longer, making life easier for both you and your cat.
FAQ’s
What to deep clean a Litter-Robot with?
Use warm water with mild, unscented soap or a pet-safe cleaner to deep clean a Litter-Robot. Avoid harsh chemicals, bleach, or abrasive tools, as they can damage sensors and internal components.
Can I use vinegar to clean Litter-Robot 4 sensors?
Yes, you can use a diluted vinegar solution to clean Litter-Robot 4 sensors, but only sparingly. Make sure the unit is unplugged, apply vinegar with a soft cloth, and avoid soaking the sensors or using them too frequently.
What happens if I don’t clean the Litter-Robot 4 sensors?
If the sensors aren’t cleaned regularly, dust and debris can interfere with their accuracy, leading to cycling errors or missed cleanings. Over time, this can reduce performance and lead to odour or litter buildup issues.
How many cats can use 1 Litter-Robot 4?
One Litter-Robot 4 can comfortably handle up to 4 cats, depending on their size and how often it’s cleaned. In multi-cat households, more frequent cleaning and litter changes help maintain consistent performance.
0 Comments